The best stargazing nights rarely happen by accident. Behind almost every memorable session is a small amount of planning done earlier in the day: a glance at the Moon, a check of the forecast, a short list of what to look for. It is not elaborate, and it takes only a few minutes, but it is the difference between standing outside wondering what to do and settling in for hours of rewarding observing.
This guide lays out a planning routine you can run before any session. We will cover the conditions that matter most, how to decide what to observe, and how to pack a kit that keeps you warm and oriented. Do this a few times and it becomes second nature, the quiet ritual that makes good nights repeatable.
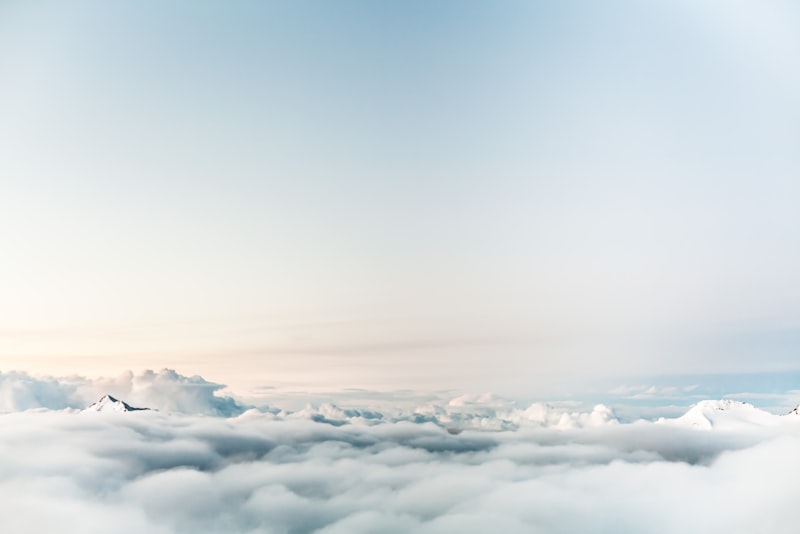
Start With the Moon and the Weather#
Two factors influence your night more than anything else, and you can check both in seconds. The first is the Moon. A bright Moon is beautiful, but it floods the sky with light and washes out faint objects almost as effectively as a city does. If you want to chase faint galaxies, nebulae, or the Milky Way, plan around the nights near new Moon when the sky is darkest. If you want to study craters and lunar detail, the opposite is true and a half-lit Moon is ideal.
The second factor is weather, and it is more than just "clear or cloudy." Pay attention to:
- Cloud cover, including the timing of clearing or incoming fronts through the night.
- Humidity and dew point, since damp air means dew on your gear and a hazier sky.
- Wind, which chills you fast and shakes anything you try to hold steady.
- Transparency and seeing, the terms for how clear and how steady the air is overhead.
Transparency affects how faint an object you can detect, while seeing affects how sharp fine detail looks. A night can have one without the other. Specialized astronomy forecasts report both, and learning to read them sharpens your expectations considerably.
Check the Moon first, then the sky conditions. If the Moon is bright and your targets are faint, the smartest move is often to pick a different night rather than fight a losing battle against the glow.
Know What Is Actually Up#
A clear, dark night is wasted if you stand under it without a plan. The sky changes through the year and through the night, so part of planning is simply knowing what is well placed when you will be out. This is where the rhythm of the seasons comes in, and getting comfortable with how the sky shifts month to month is a skill worth building over time.
Decide on a small handful of targets rather than a sprawling wish list. Three or four objects you genuinely find is far more satisfying than twenty you rush past. Mix easy wins with one stretch goal, so you always come away having seen something even if the hard target eludes you.
A practical way to build the list:
- Note the date and your rough location to know which constellations are up.
- Pick one or two bright, easy objects to warm up and confirm your bearings.
- Add one more challenging target to reach for once your eyes are fully adapted.
- Sketch the order you will find them, hopping from bright anchors outward.
That last step leans on a skill worth practicing separately: using bright stars as signposts. If hopping between patterns is still new to you, our guide to finding constellations using pointer stars gives you the routes that make on-the-night navigation effortless.
Pick Your Spot and Your Sky#
Where you stand shapes what you see. The darker your site, the more the sky opens up, so part of planning is deciding whether tonight is a backyard session or one worth driving for. Faint targets reward the effort of reaching a darker location, while the Moon and bright planets look fine from almost anywhere.
Before you commit to a site, think through a few things. How dark is it, and which direction does the nearest city glow sit? Is there a clear horizon for objects that ride low? Is it safe, accessible, and somewhere you can stand comfortably for an hour or two after dark? Matching the site to your targets is the core of the decision, and understanding the Bortle scale helps you judge whether a given spot is dark enough for what you hope to see.
Pack a Kit That Keeps You Out#
More sessions are cut short by cold and discomfort than by clouds. The goal of your kit is to let you stay out long enough to actually settle in, because the best observing often comes after the first hour, once your eyes are fully dark-adapted and you have slowed down.
Build your pack around comfort first and gear second:
- Warm layers, more than you think you need, plus a hat and gloves you can still work in.
- A reclining chair or ground pad to save your neck during long looks upward.
- A red flashlight to read charts and find gear without ruining your night vision.
- A printed star chart or an app set to its red night mode.
- Snacks and a warm drink in a thermos to keep your energy up.
- A small notebook to record what you found and conditions you observed.
The red light deserves emphasis. White light destroys the dark adaptation it took you half an hour to build, so a dim red source is non-negotiable for a serious session. If you want the full reasoning, it is worth reading why this matters for your night vision before you head out. Set everything by the door in the afternoon so you are not hunting for gloves in the dark when the sky finally clears.
The Habit That Makes Nights Repeatable#
None of this is complicated. Check the Moon. Read the weather, including transparency and seeing. Choose a few targets suited to the conditions, pick a site that matches them, and pack so you stay warm and oriented. Run that short loop before every session and your hit rate climbs sharply.
The reward is that good nights stop feeling like luck. You will start to know, the afternoon before, whether tonight is one to chase faint galaxies, study the Moon, or simply lie back and let the sky turn overhead. That foresight is what separates an observer from someone who occasionally looks up, and it is a habit anyone can build in a handful of clear evenings.